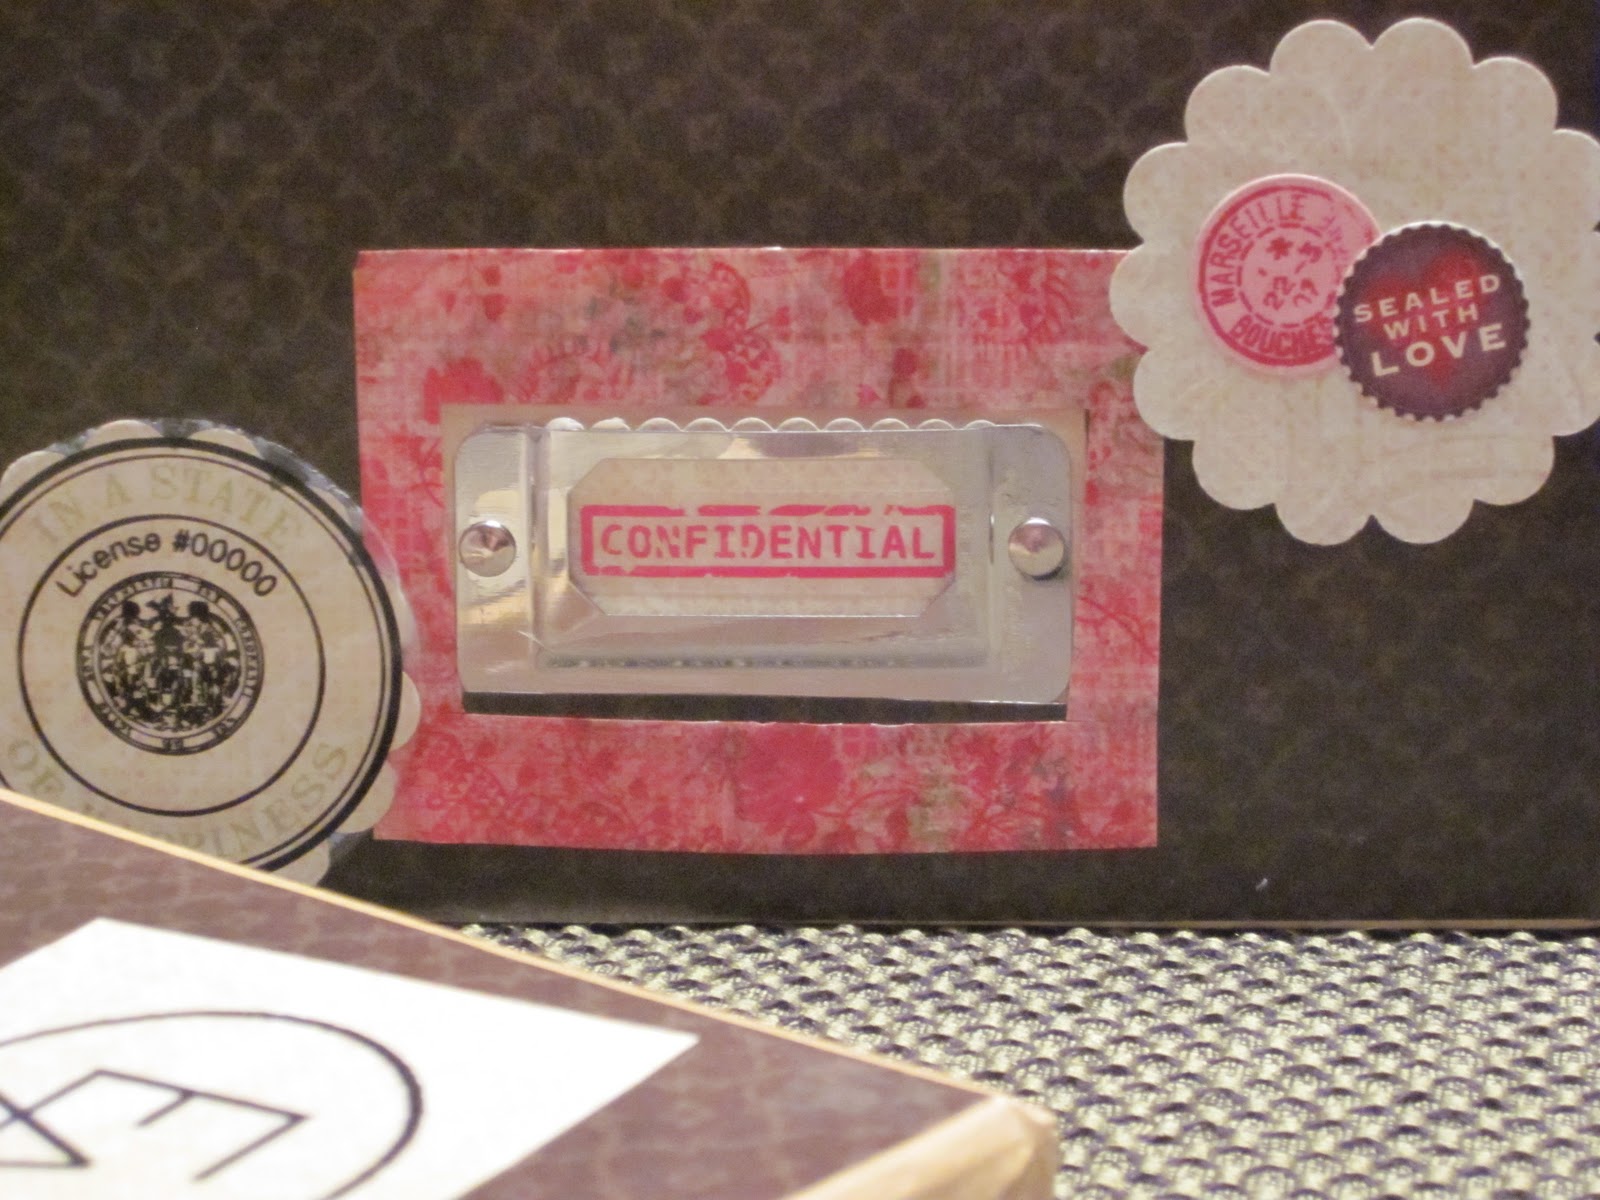
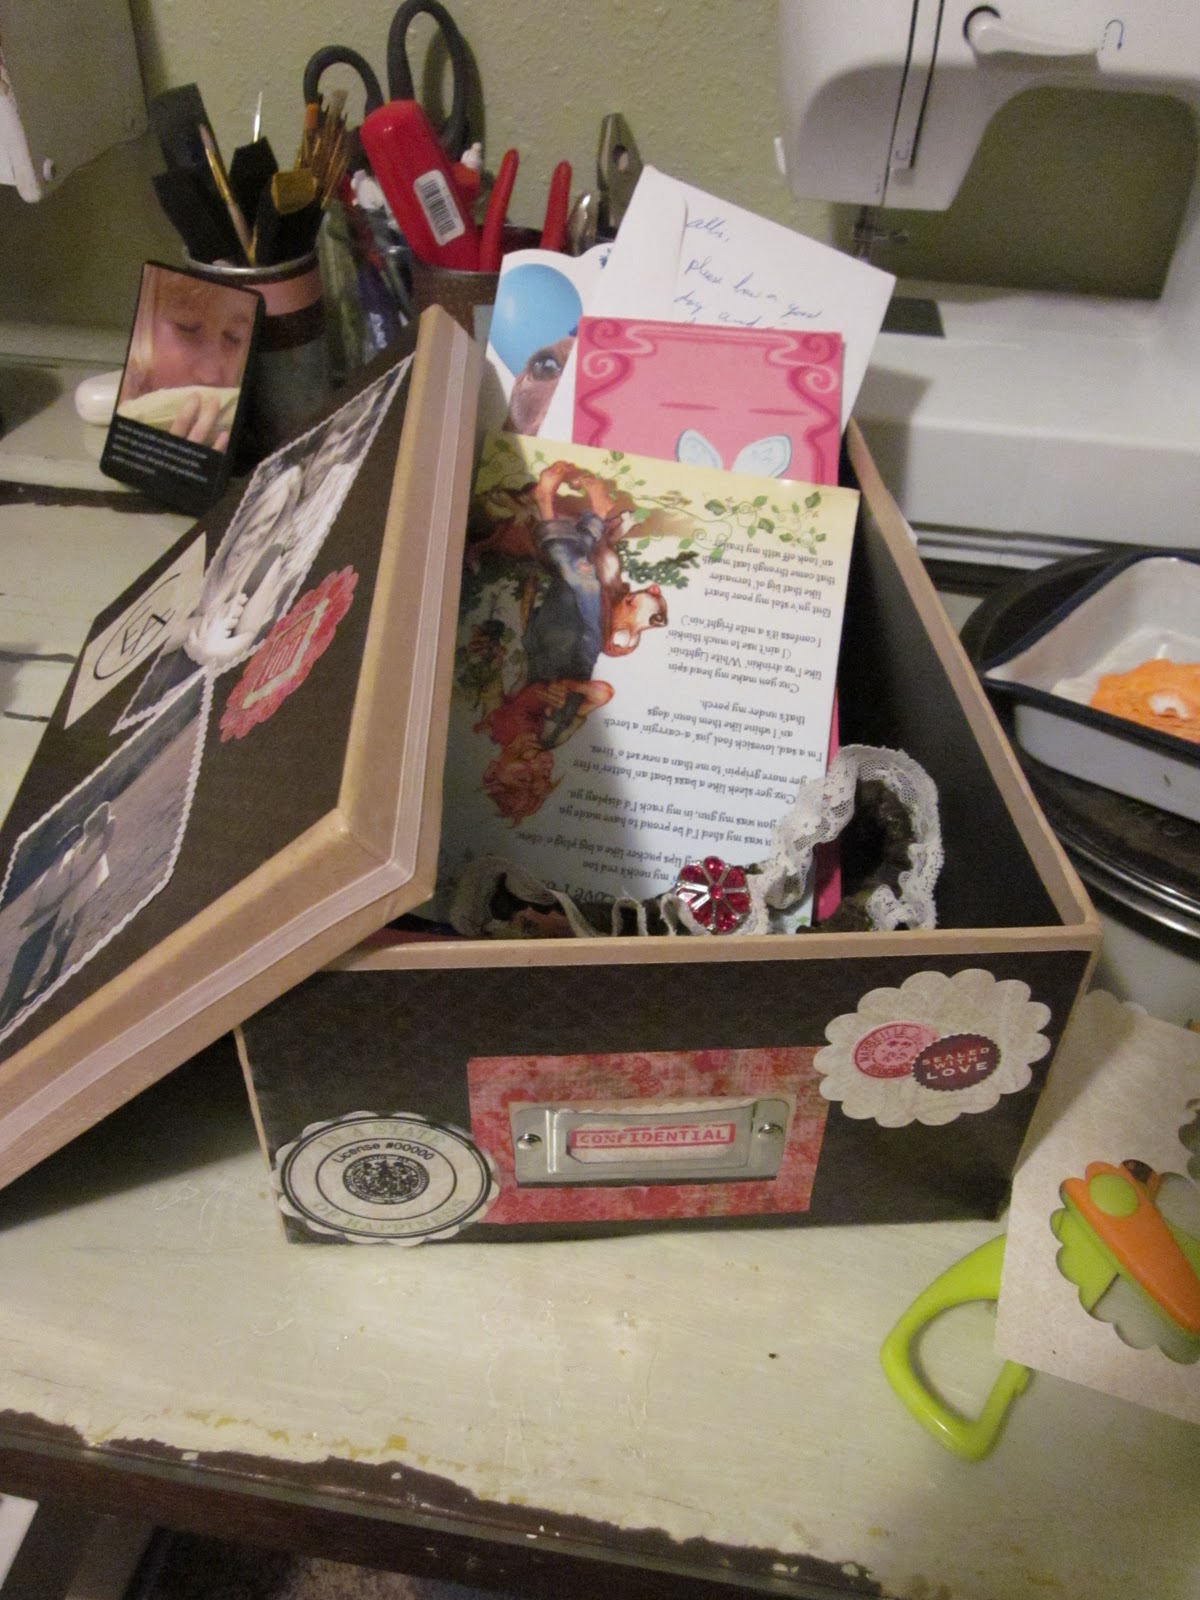
With Valentine's Day around the corner, I got to looking at my little collection of cards from my husband over the years. I got to thinking of this box that my sister made me when I was a little girl, like 12? Anyways, it was wonderfully decoupaged with magazine clips and pictures. I still have the lid from that box, and I love looking at all the things she put on it. Man, what was with my short hair? Were those jeans with stripes really in style?
Next thing I knew, I was at JoAnn's this morning buying a photo box and Modge Podge!
It might be a little silly, but I love this box! I can't wait to look in it 10 years down the road and see the little notes, cards and what-nots from my sweet hubby :)
Crafts - Home Decor - Cooking - Faith - Baking - Everyday Stuff - Animals - Cleaning - Home Improvement
Saturday, February 5, 2011
Monday, January 24, 2011
From Pallets to Compost
This weekend Eric and I finally built our little compost bin. We used three pallets, 4 t-posts, a little wire and some wood scraps. The best part about this bin is that is was completely free! Not to mention how easy it was! Well, there were a few roots that Eric about broke his back trying to pull the t-posts back out of...but, other than that it was pretty easy!
Step 2- We drove the posts in so that they would be about flush with the top of the pallets. Then we set the pallets in place.
Step 3 - We drilled holes in the pallets to insert the wire through and around the posts to secure the pallets in place.
Step 4 - We chose to put a little gate on the front of the bin. I thought this might keep the dog out if she decided something looked gross enough to eat! I measured the width of the opening, and cut a top and bottom board for the gate. We just tore out the old trim in our house, so I used some pieces to make the "pickets" and just nailed them the top and bottom board.
It turned out pretty primitive. But we're talking about pallets here! It will get the job done! Give it a little paint job and once the grass starts growing, and we have our raised garden beds in, it won't stick out so much!
For the first layer, I tossed in some organic matter, such as leaves, small twigs, kitchen scraps, old Halloween pumpkins, etc..
Then the wonderful rabbit poo!
It was a fun project and I am excited to start adding on the layers for some
gooood fertilizer for the garden this spring!
Keep on poopin' lil bun buns!
Saturday, January 22, 2011
Craft Hope Project 11
Craft Hope has introduced another amazing project. Project 11 - Konbit Sante is all about making safe and necessary birthing kits for newborn babies in Haiti. Here is what the kits include:
1 small bar of soap
1 piece of clean plastic sheeting (3 feet wide by 4 feet long)
1 piece of clean string, 24 inches long
1 packet alcohol wipe
1 set of sterile latex gloves
1 packet (or travel container) Purelle
1 handmade tote bag
1 piece of clean plastic sheeting (3 feet wide by 4 feet long)
1 piece of clean string, 24 inches long
1 packet alcohol wipe
1 set of sterile latex gloves
1 packet (or travel container) Purelle
1 handmade tote bag
Optional:
Receiving blanket–36 inches square
Small “stuffy” toy
Receiving blanket–36 inches square
Small “stuffy” toy
That is all that is needed to save the life of a newborn baby. I can't find the words to describe how humbling, and shocking that is. When we're complaining about having to share a room with someone, these women don't even have a clean blanket to wrap their newborn in.
I am very excited to be involved with this project, and it's not just me who has joined in! The whole Knit-Wit Group, including Paula at On a Rainy Night , is getting together to make as many kits as we can.
Here is the link to the Project - Konbit Sante
"Therefore, as God's chosen people, holy and dearly loved, clothe yourselves with compassion, kindness, humility, gentleness and patience.
Colossians 3:12
Saturday, January 15, 2011
Zuchinni Salad with a Southwest Flair
Southwest Zucchini Salad
Dice and chop all the veggies and add to a large mixing bowl. Stir to thoroughly mix, cover and refridgerate. Letting it sit for at least an hour allows all the flavors to combine - especially the onions and bell peppers.
3 medium/large zucchini, diced
1 cup chopped red or white onion
1 cup chopped green bell pepper
1 can black beans, drained and rinsed
1 cup tomatoes, diced
1/2 cup sunflower seeds
1 cup whole kernel yellow corn
The dressing is very basic, add a little at a time to the salad until you find the taste you like best.
Dressing:
3 tablespoons white or cider vinegar
2 tablespoons olive oil
2-3 tablespoons sugar
salt and pepper to taste
Sunday, January 9, 2011
101 Uses for an Eraser....
...Not really, just one eraser, but I'll get to that in a second. First, I apologize to the blogging community, mostly Paula, for my lack of participation and absence this past month. I had a very wonderful vacation over Christmas with lots of time spent with my family back home, including my two sisters and their spouses who flew in from Texas and Misery, I mean Missouri. Needless to say, I was a bit distracted from Blogging.
A funny thing happened the other day. Like most afternoons, I was working feverishly away, pounding the keys and squinting my eyes at the computer screen. Fiddling around, I noticed the back to my earring was missing. This happens often, as I am a known fiddler, and I usually find it on the floor. I looked around my desk, but did not feel it. When I leaned forward, I felt a little trickle down my back. Ahh, there you are you little rascal! I cautiously reach my hand around the back of my shirt, but found nothing. Great, I thought, it went down my pants. So, I snuck into the bathroom and began the search and rescue. But, to no avail. I then mentioned the occurrence to a friend at work and she suggested using a piece of an eraser to replace the missing back. What a great idea! I search the file room for an eraser, which was obviously in the bin marked “staples”. I then had to show off the cleverness that was now my earring back to Paula, who sits in her farm (cubicle) next to mine. She finds the replacement rather comical and we share a good laugh. But then, I feel something poking the bottom of my foot inside of my boot. Could it be?! The darn little run-away, the sneaky little &%$*. It was there. What a journey, from the back of my ear, down my shirt, into my pants, down the pant leg and inside my boot! I was impressed. So, in conclusion from this brief and somewhat uninteresting occurence that I have decided to ramble on abut....An eraser makes a great earring back replacement - quite comfortable actually.
Sunday, December 5, 2010
Polka-Dot Message Board
Like most summers, I stopped at LOTS of yard sales. On my way to a camping trip in, I stopped at a farm sale. This lady had her whole barn open for sale with stuff piled high and deep. Amongst my small pile, I had picked out an old cabinet door. I didn't have any real plans for it until today. I thought I was going to have a rather lazy Sunday afternoon recovering from a long and cold day of duck hunting, but the idea for this message board popped into my unsuspecting head!
To make it, I used a piece of cardboard, fleece, fabric, ribbon and lots of staples!I cut the cardboard to fit into the center impression. I stapled a piece of fleece to the cardboard for a little padding, then laid down a piece of fabric and wrapped it around the edges. I pulled the fabric tight and secure with a staple.
I wasn't sure how to best fit the ribbon, so I just used 4 pieces and made two big "X" shapes starting from each corner. I stapled the ends of the ribbon to the back of the board. In the center of each X, I placed a dab of hot glue between the ribbon and the board, and then between the ribbon and the cute little Moose and Bear buttons. That's it!
I probably wouldn't have chose a polka-dot print if I was to go out and buy fabric for the project, but since I just used stuff I already had, I thought it turned out pretty cute. Simple, at least :)
Thursday, November 18, 2010
Quickie Lighted Snowman
I got this idea from my mom, who has been making these guys for years. Hers have light switches and more elaborate embellishments - super cute! I came up with a "quickie" version of these cute little guys, and thought I would share!
What you'll need:
Glass Jar - I think it's best to use a jar with plain class, no words, etc... Like Ball or Mason jars
White acrylic craft paint
Sponge
Clear matte finish verathane spray
Orange and black "puffy" paint ( or just regular paint, or paint pens)
Paint brush
Fabric scrap for scarf
Old boot sock band for the hat
LED tea light
Velcro
1. Sponge paint the jar white, leaving openings for the light to glow through
2. Let it dry and paint on the face - I used pink blush for the "blushing cheeks"
3. Spray with verethane sealant. This helps to keep the paint from scratching off
4. Cut the top band off a boot sock. Hand stitch in and out of the cut-end, and make a draw string. Cinch top together and tie off. Add a puff ball, or embellishments
5. Tie on a scarf. I cut out a piece of red fleece for this one.
6. Glue on a small piece of velcro to the bottom of the LED tealight, and to the bottom of the jar. This will keep the light from jiggling around inside the jar.
7. Flip the tealight on, and watch it glow!
Subscribe to:
Posts (Atom)